MultiBin Clamshell Cases - Part 1: The Hinges
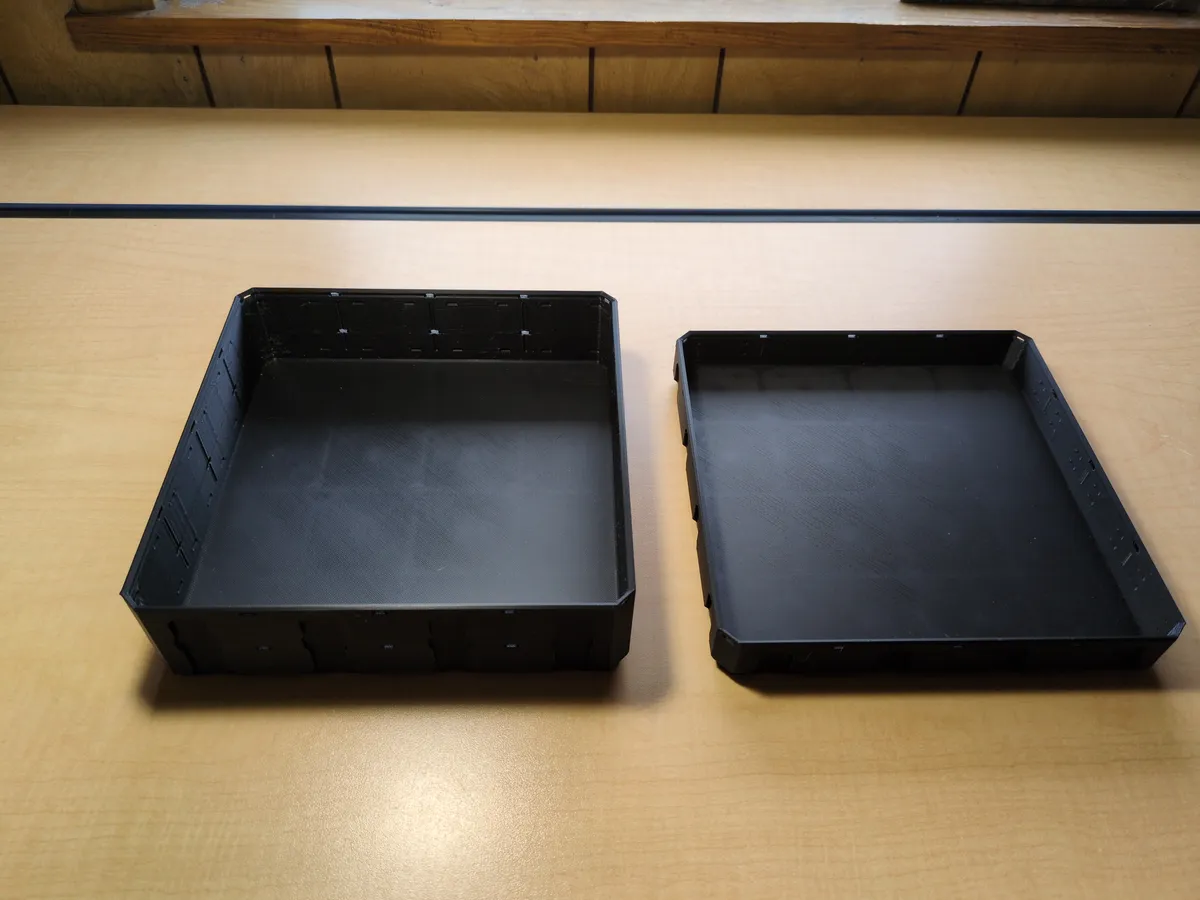
As mentioned in my first post, portability has been the one thing I haven't seen well-explored in the MultiBuild ecosystem by other builders yet. MultiBin Shells and Inserts are fantastic for organizing small to medium parts and tools, and I wanted to use those portably in a way that's convenient, contained, and secure.
 /
/
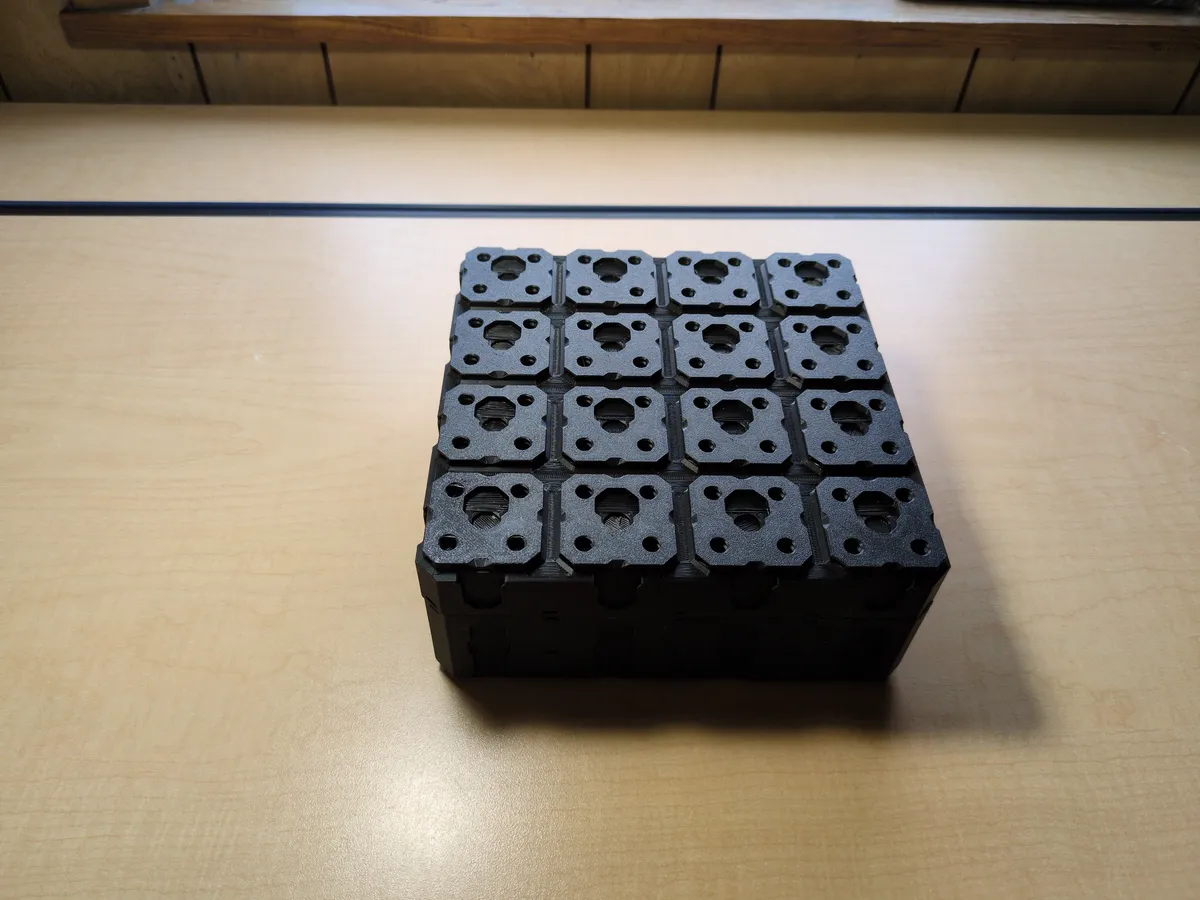 4x4x1 LU - Topped Rail - MultiBin Shell -----
4x4x0.5 LU - Topped Rail - MultiBin Shell
4x4x1 LU - Topped Rail - MultiBin Shell -----
4x4x0.5 LU - Topped Rail - MultiBin Shell
For this first example, I will lay out some of the constraints for having hinged clamshells I haven't been able to figure out a way around:
- You must have a total of at least 1.5LU(3MU) of bin shell depth(height on the Z axis)
- The top bin must be inverted on the bottom bin
- Best practice seems to be to use Topped Rail Bin Shells
- Orientation of the Point Holes matters for certain purposes(but that's another post)
- The hinges (and the clasps/latches) will take you "off grid" in one axis, meaning that the sides the the hinges and latches are on will take up space into the next unit (IE if you put a 2x2 Multibin Clamshell on a 5x5 Square Plate, it will take up more than 2 LU worth of space front-to-back)
On the upside, this method works for any matching width and height; in theory you could use as small as a 1x1x1 Bin Shell and a 1x1x0.5 Bin Shell. Maximum height also should not matter, but I would be careful trying to use Bin Extensions.
Throughout this whole series, we will be making extensive use of Fold-Ins; these come in lots of different sizes and attachment options. For a quick primer on the naming convention for these, please see the official Multipoint Learning Pack video (8:24) (please note: this is an older video does contain some information that is out of date (such as MultiPoints are now called Fix Points), but this particular naming convention is unchanged)
Here is the pertinent screenshot:
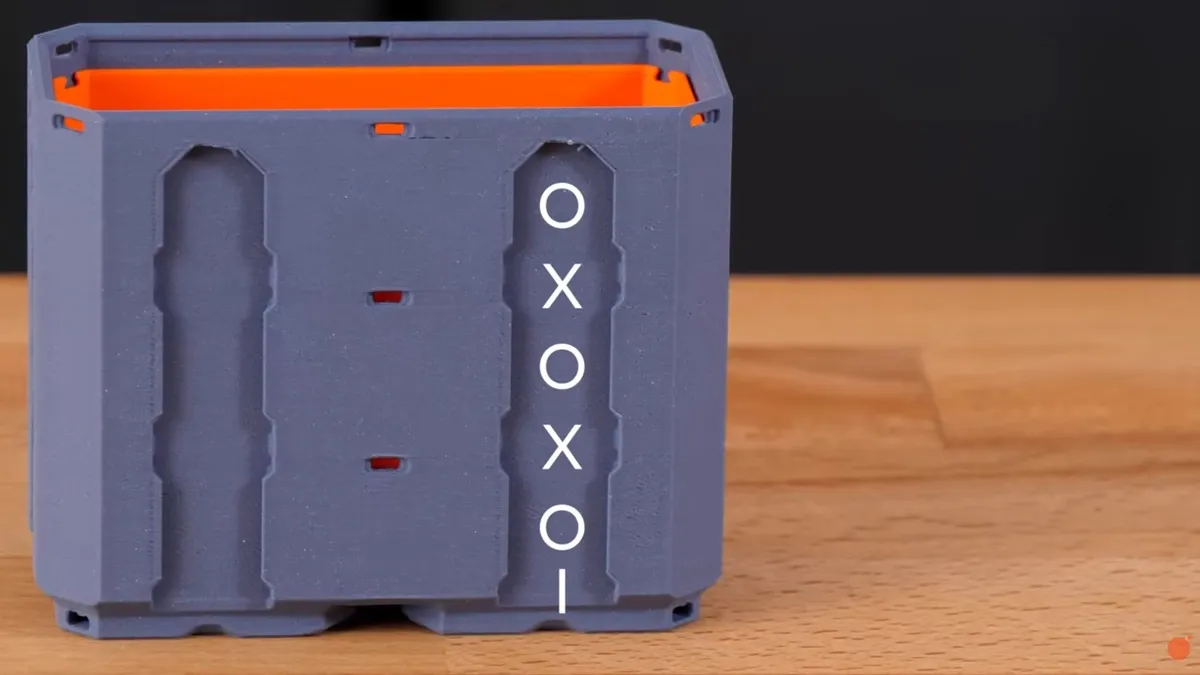
Basically, the part name will reference these positions up to twice: once when describing where the part fits into the Rail Wall, and once when describing where the attachment point sits, if it's a longer part.
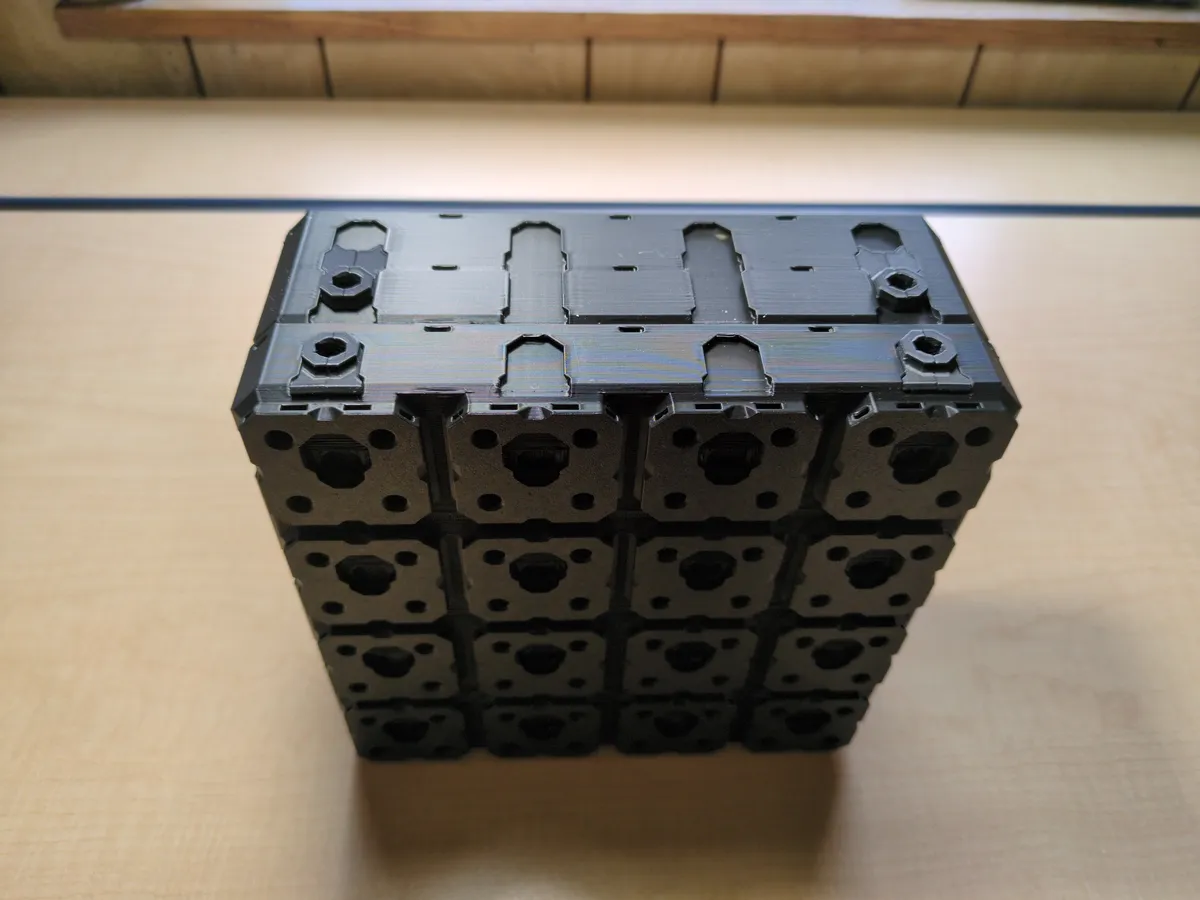
Top: O Fix Point Bolt-Locked - 1 LU Bin Fit - OX Fold-In Locked Lite Rail (1 MU Rail)
Bottom: Fix Point Bolt-Locked - 0.5 LU Bin Fit - OI Fold-In Locked Lite Rail (0.5 MU Rail)
A few notes: One, in this photo, both bin shells are facing opening up, just for ease of photographing. This is however the appropriate location for when they are inverted to mount the hinges.
Second, the parts we are using, Fix Point Bolt-Locked Fold-Ins, are going to be what we will use for all the hinge mounting, but some of the configurations will have different versions of them. Also, be aware that these parts were released prior to the introduction of the specific Locking Bolt, which has larger threads. These will all use Fix Points to bolt-lock other parts to our Bin Shells, and Locking Bolts will not be used at all.
Take some time to compare the names of the parts to the screenshot of the location names, and the picture of the parts. Let's dissect the top one:
- "O Fix Point Bolt-locked" - denoting where the attachment point locates on the rail, and what it is.
- "1 LU Bin Fit" - denoting that it needs a bin of at least 1 LU to fit into
- "OX Fold-In Locked Lite Rail (1 MU Rail)" - denoting where the part itself locates, what type of part it actually is, and what the actual size of the part is in MU
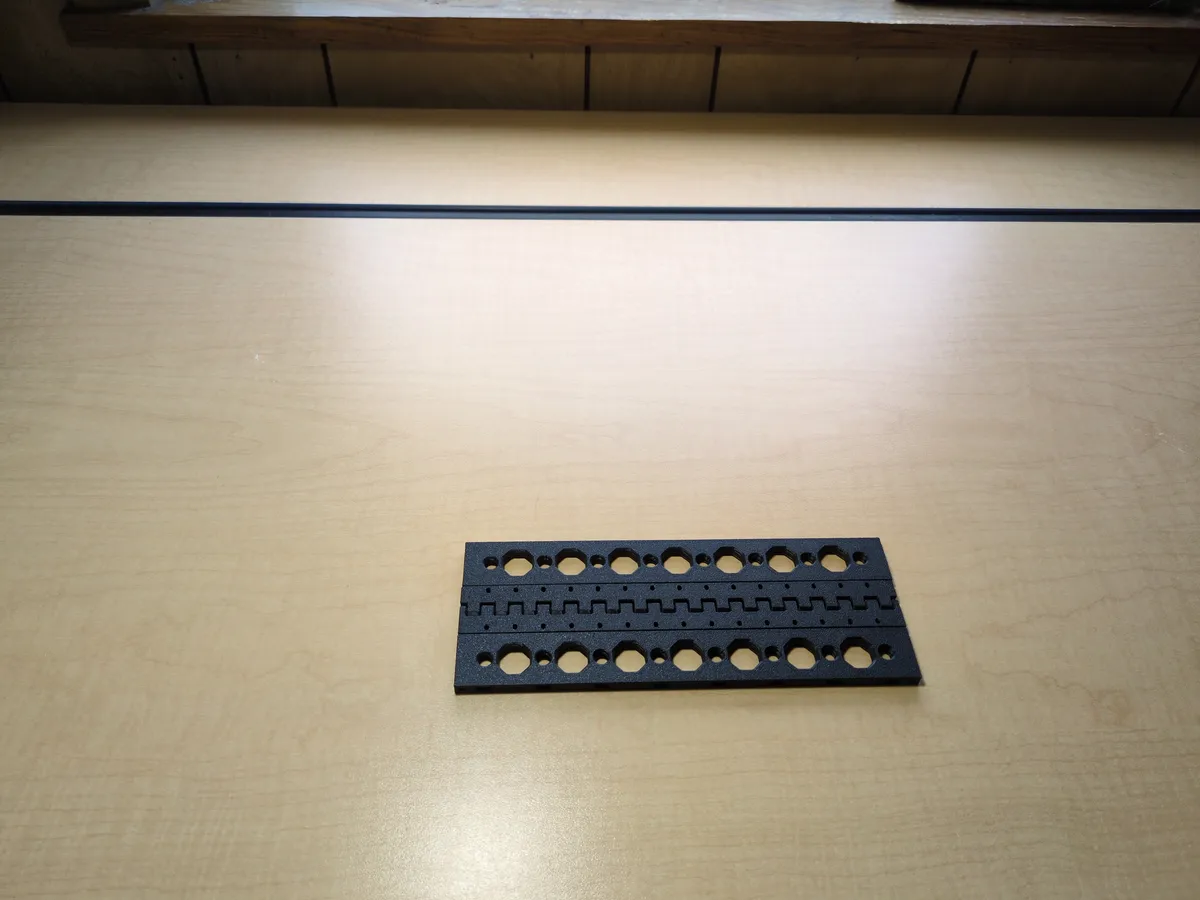 8 MU - Mid Hole - I Multiboard Beam x2
8 MU I - Multiboard Hinge Beam
For this version, I'll be showing a full length, or piano style hinge. This is using an I Hinge Beam, which will allow for a 90 degree opening of the lid. The Mid Hole I Beams are really what makes all this possible; they are spaced exactly the same as the Rail Walls, and Mid Holes fit perfectly into the Fix Point Bolt-Locked Fold Ins. One thing to be aware of, Mid Hole I Beams lack a Dual Clip hole wherever the Mid Hole appears(it can't fit), which can pose some alignment issues that I will mention later as they become pertinent.
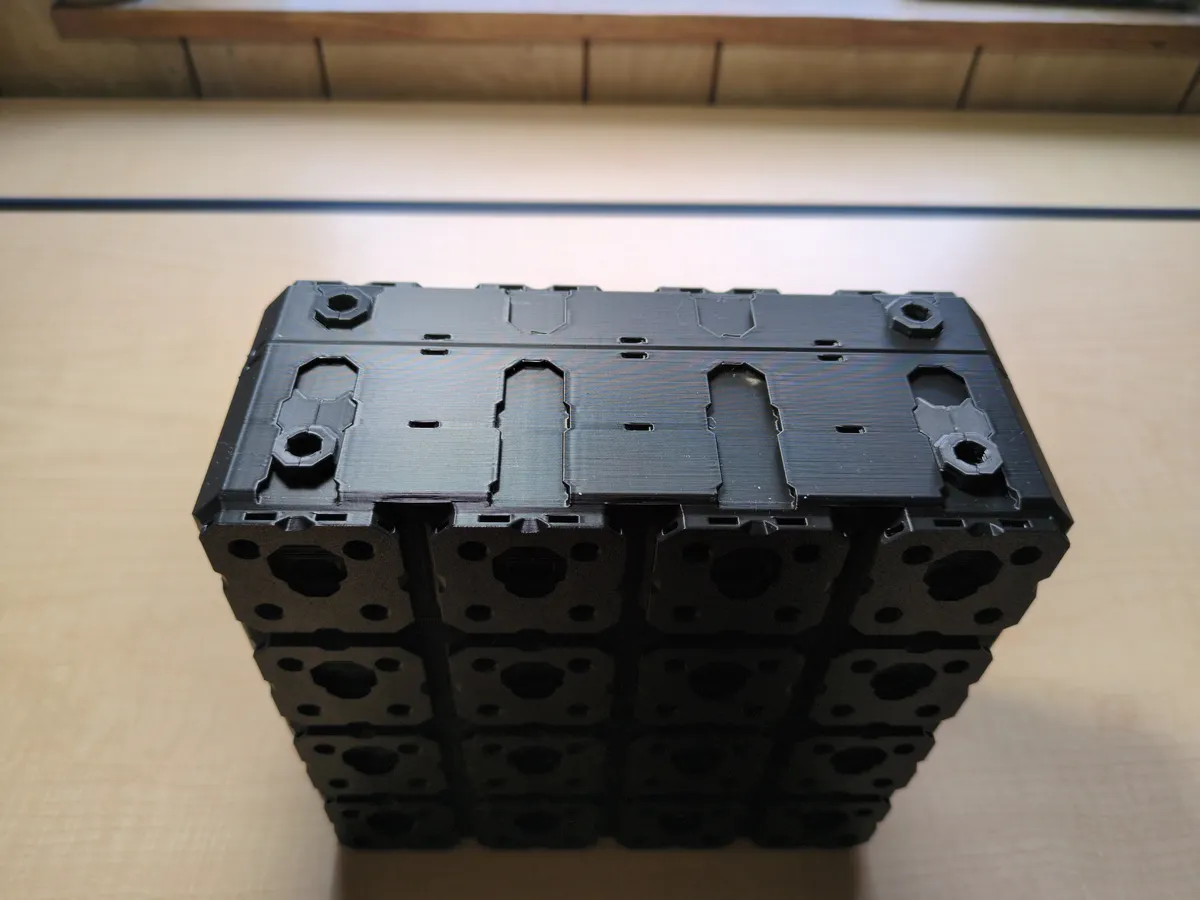
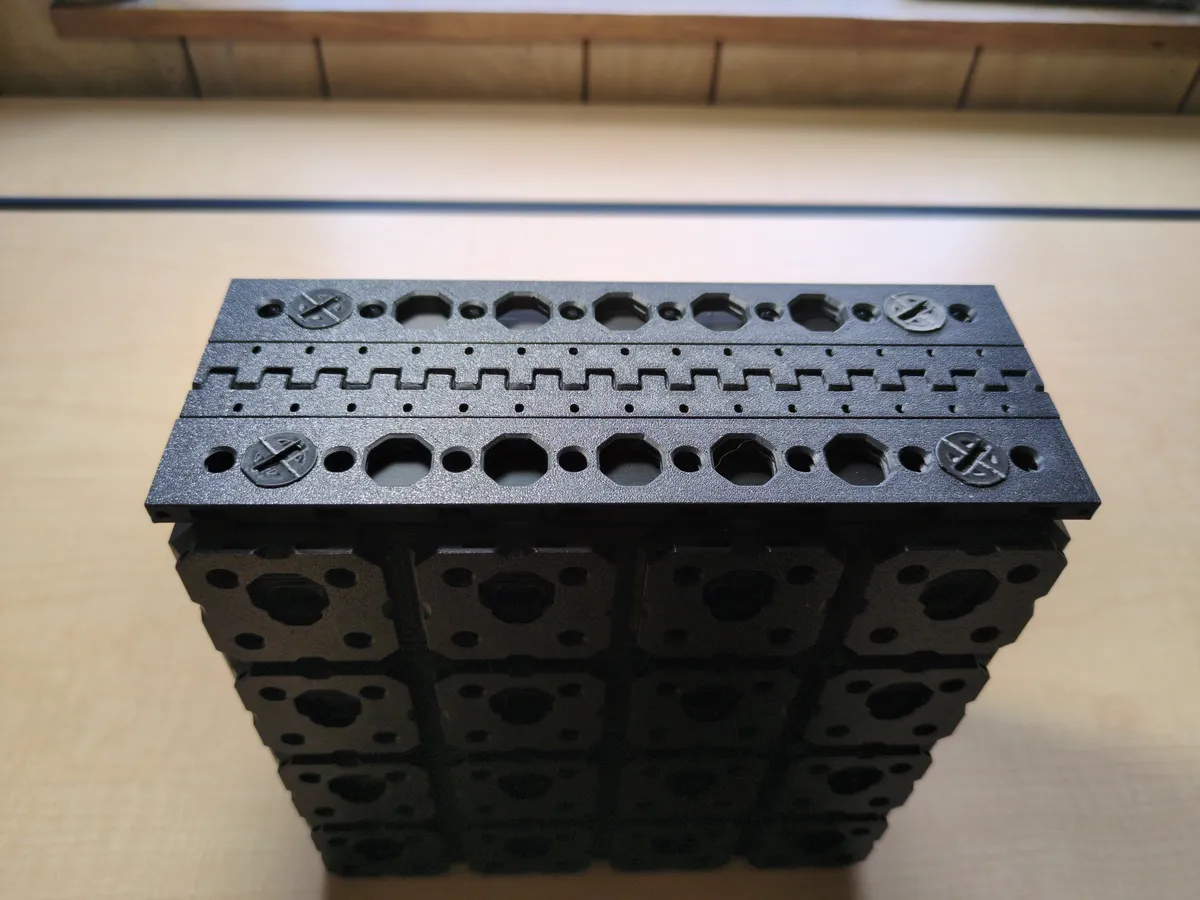
Small Thread - Fix Point (Folded) x4
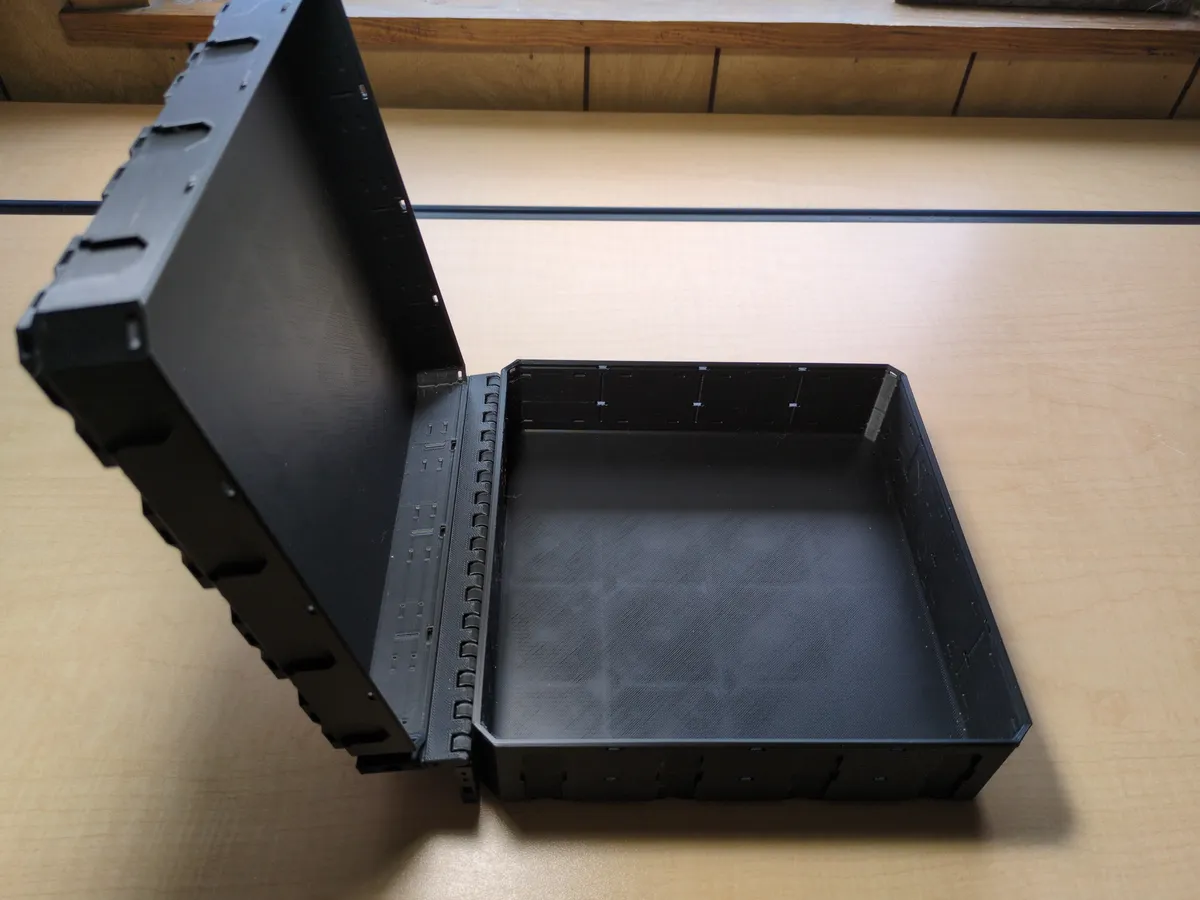
And there you have it: first hinge style done!
Couple of notes about this style:
- You do not have to go all the way across, piano hinge style. The same setup will work with 2 MU versions of the respective Beams (as we shall see later)
- This style puts the hinge slightly lower than the actual separation point of the two Bin Shells, which does seem to impact the efficacy of certain latch styles (more on that later as well)
This is a very strong and satisfying hinge to use, but I have discovered a few others that work as well.
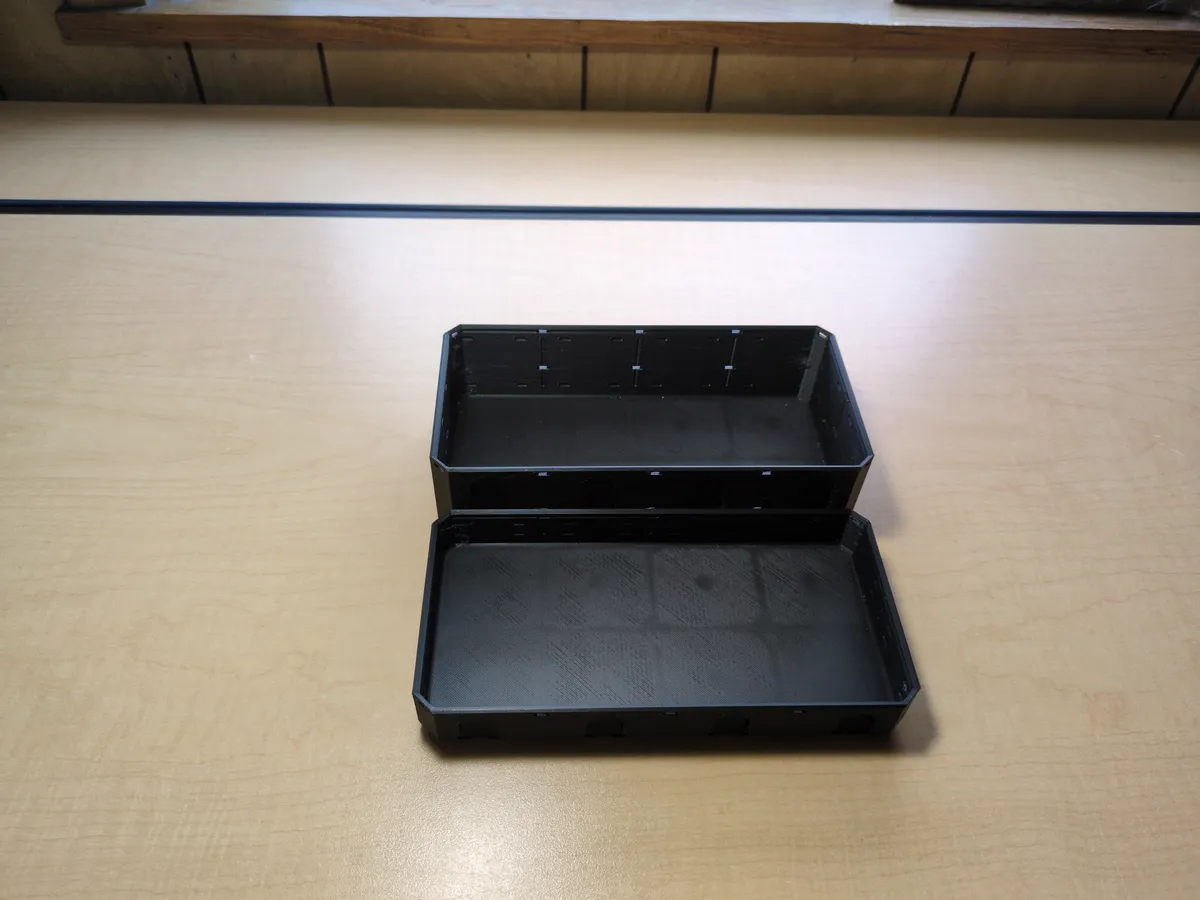
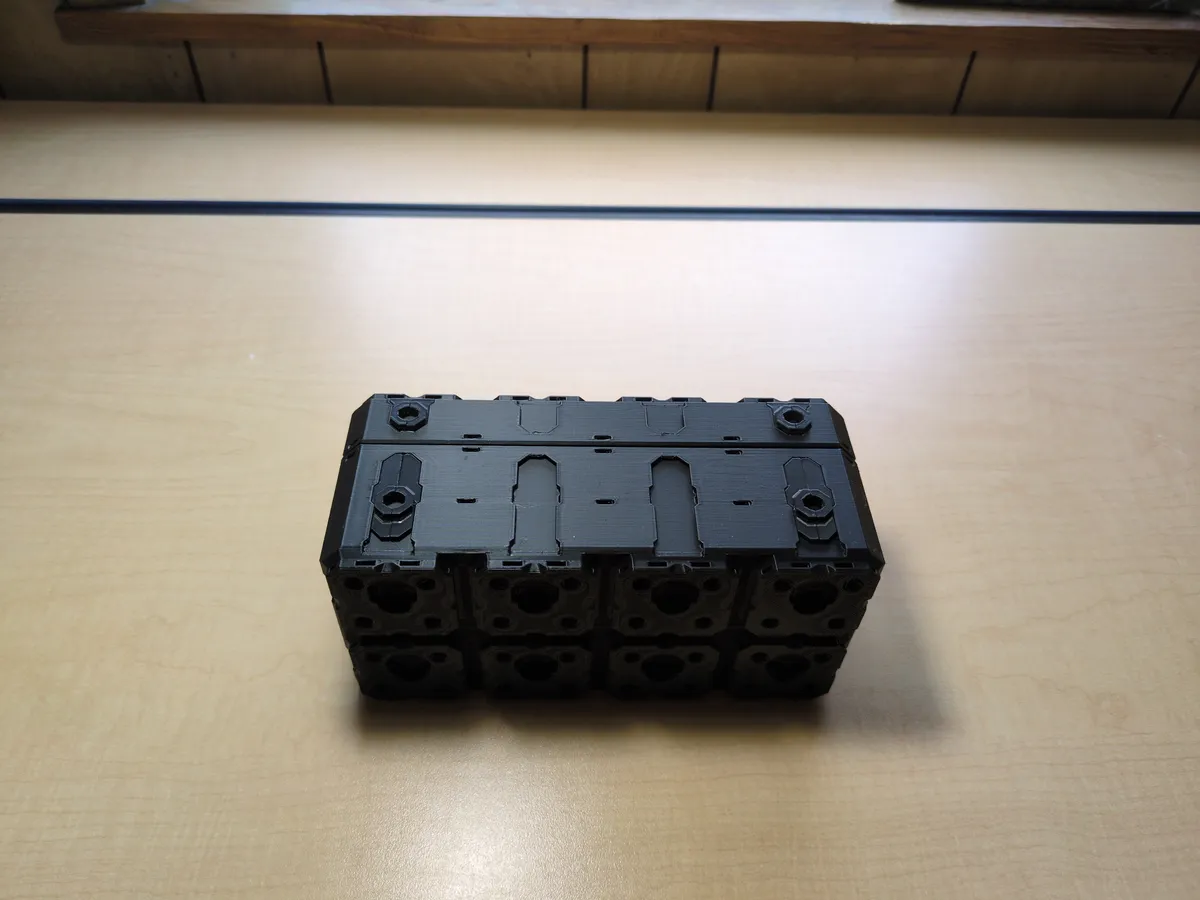 Top: Fix Point Bolt-Locked - 0.5 LU Bin Fit - OI Fold-In Locked Lite Rail (0.5 MU Rail)(same as before)
Bottom: Offset Fix Point Bolt-Locked - 1 LU Bin Fit - OO Fold-In Locked Lite Rail (1 MU Rail)
For this, we've kept the Fold-In the same on the top Bin Shell, and we're just using 2x4x1 and 2x4x0.5 Bin Shells just for variation. But the bottom uses an Offset Fold-In where the mounting location for the Bolt-Lock nub is between the O and the X locations; this part is also "reversible", meaning the offset can go up or down.
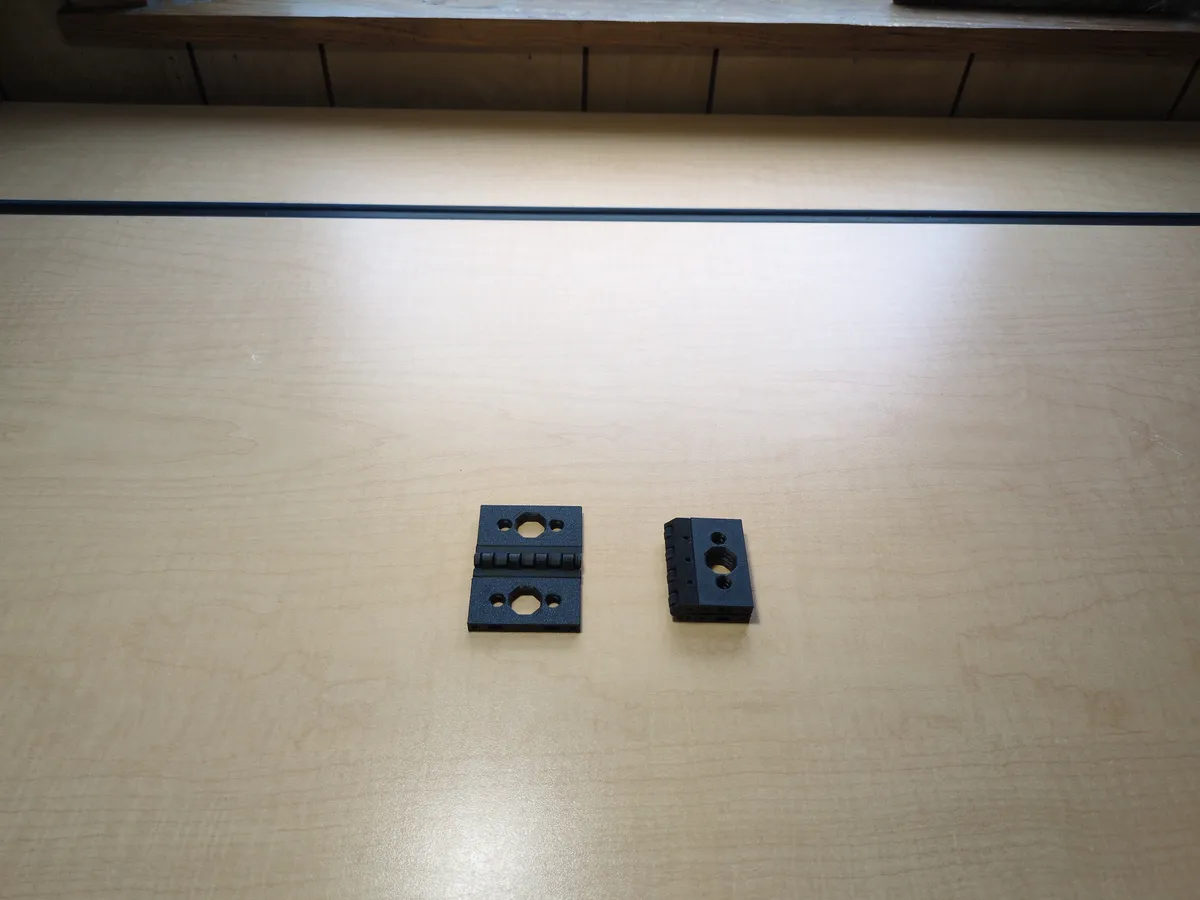 2 MU L - Multiboard Hinge Beam
2 MU - Mid Hole - I Multiboard Beam
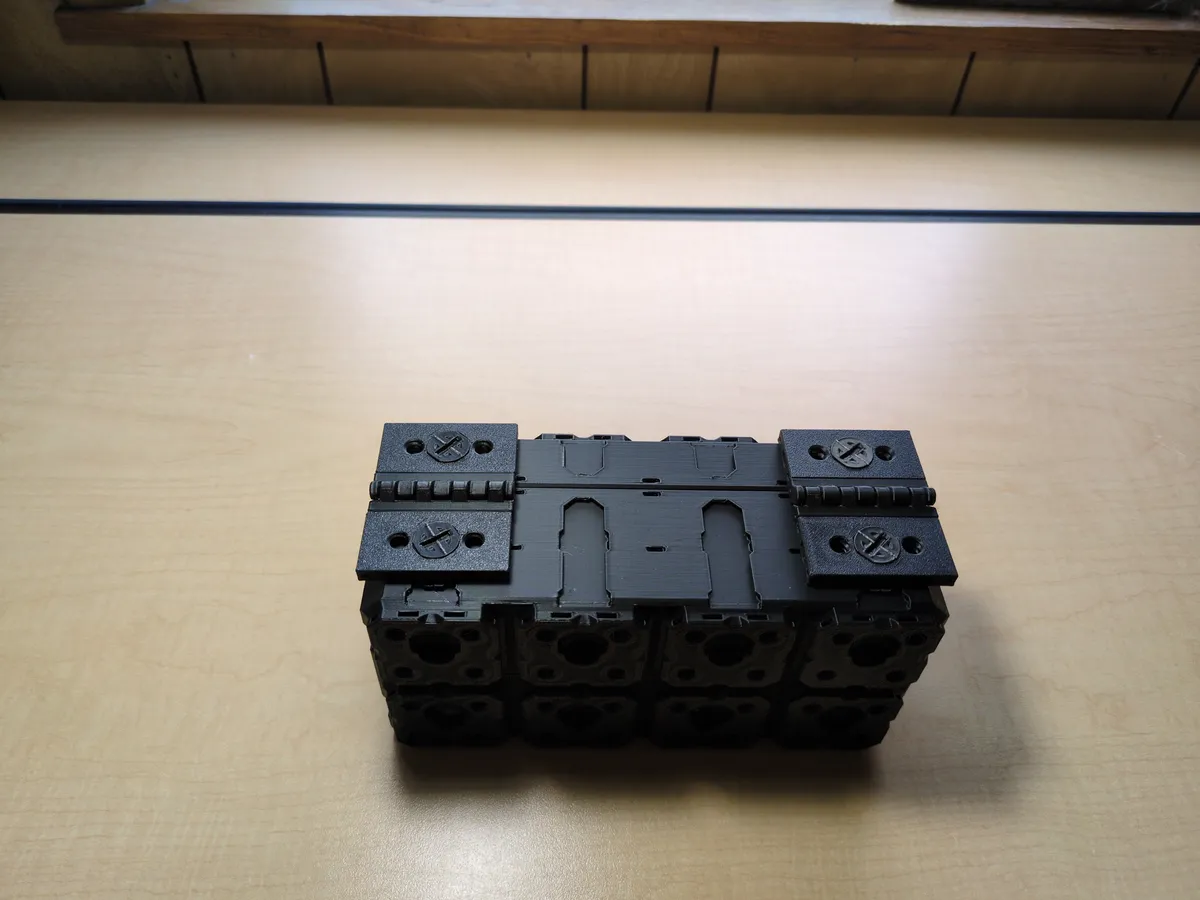
Because the L Hinge Beam is slightly less than 1 MU when it is laid flat, the Offset for the Bolt-Lock makes it line up perfectly. I don't know if this is why that Offset part exists, but I sure am glad that it does!
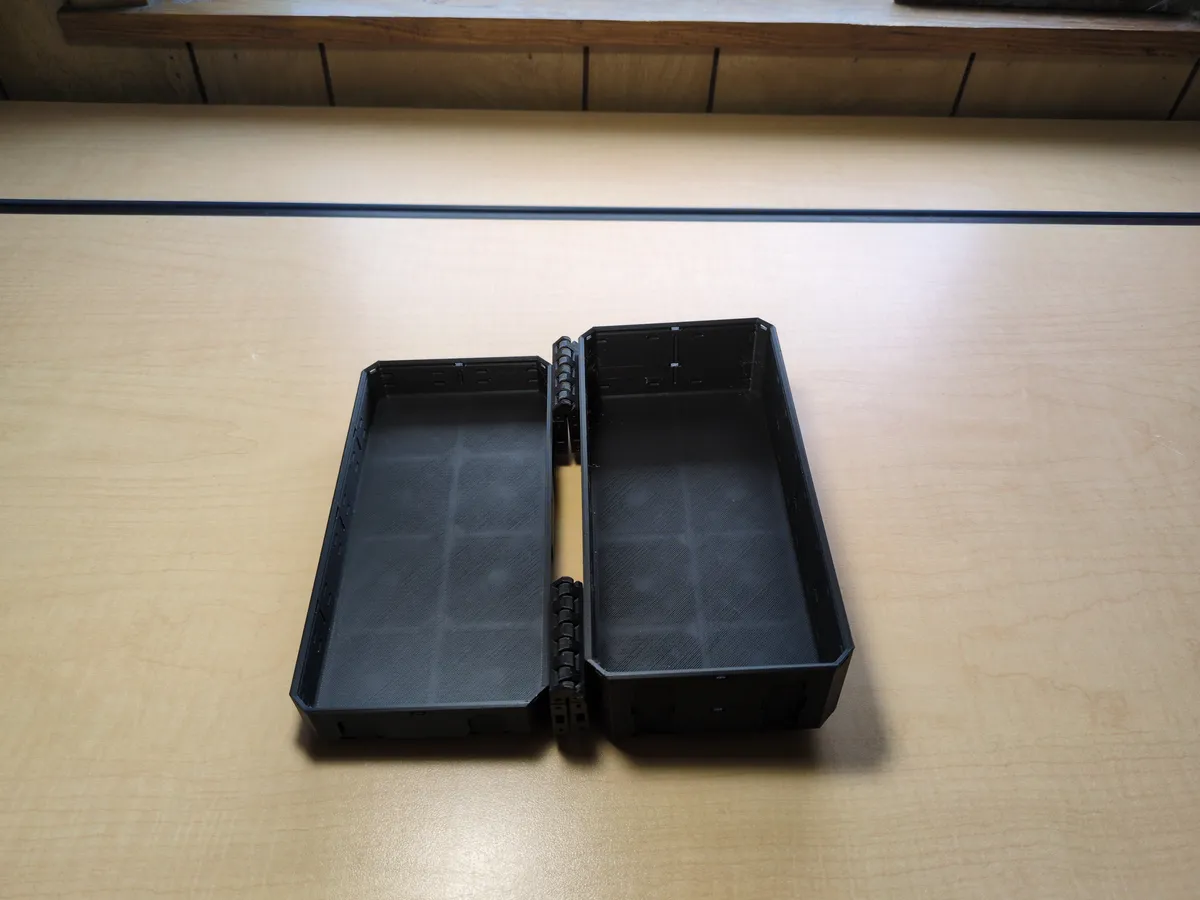
This style can also be as shown or full-length piano style. It also does not line up exactly with the split between the two Bin Shells. There is, however, one style that does. This style requires the use of two shells that are at least 1 LU deep, and uses the same Bolt-Lock Fold-In on both:
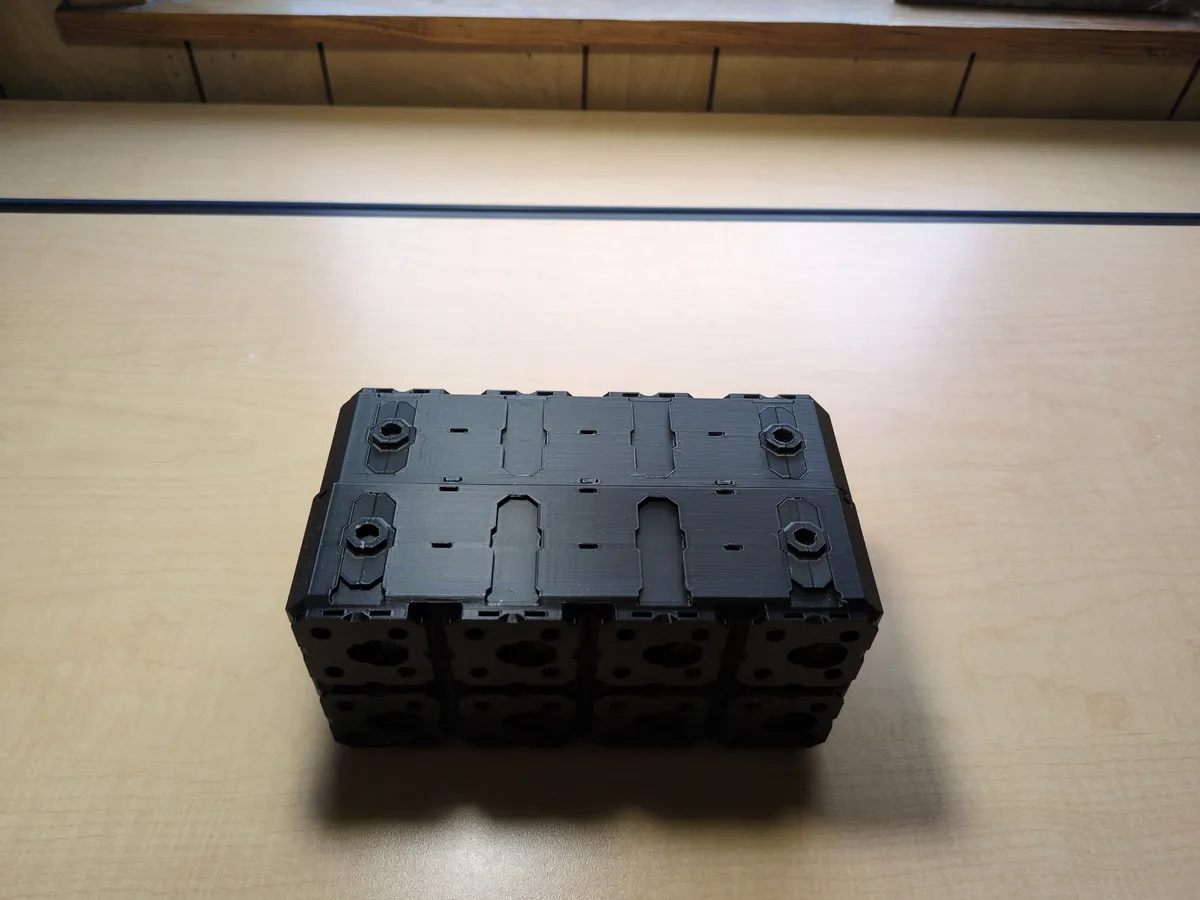
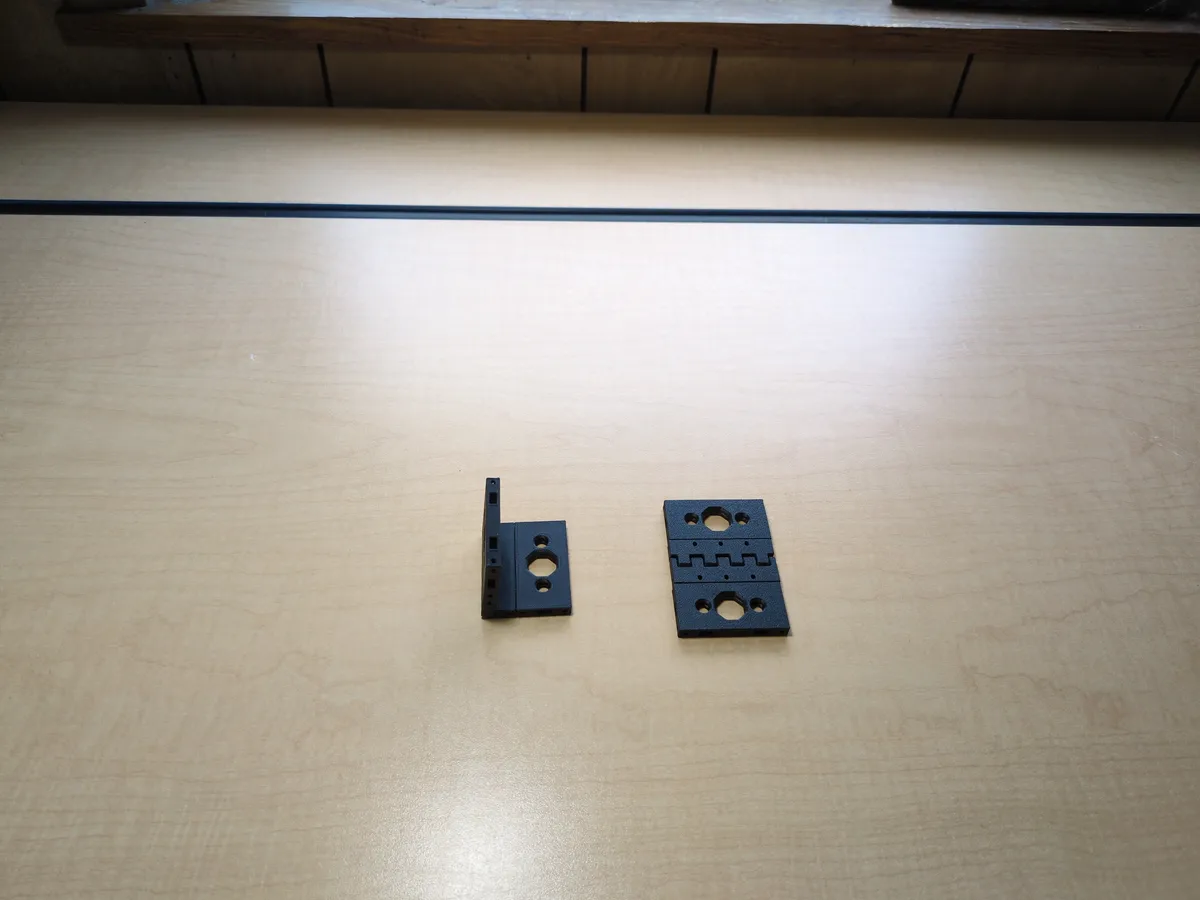
X Fix Point Bolt-Locked - 1 LU Bin Fit - OO Fold-In Locked Lite Rail (1 MU Rail)
Well, there you have it! This is the product of a lot of printing, testing, re-printing, re-testing, and staring at the Parts Library, and we've got a lot more to cover. Please leave a comment if you found this useful, and make sure to bookmark this blog, and consider subscribing to the RSS feed so you get notified when the next post releases, which will be all about Latches and Clasps.