MultiBin Clamshell Cases - Part 2: Latches & Clasps
In part 1 we covered several different ways to create hinged cases, but without latches of some sort, they're pretty useless. The final part(s) will talk about mounting and stacking the cases.
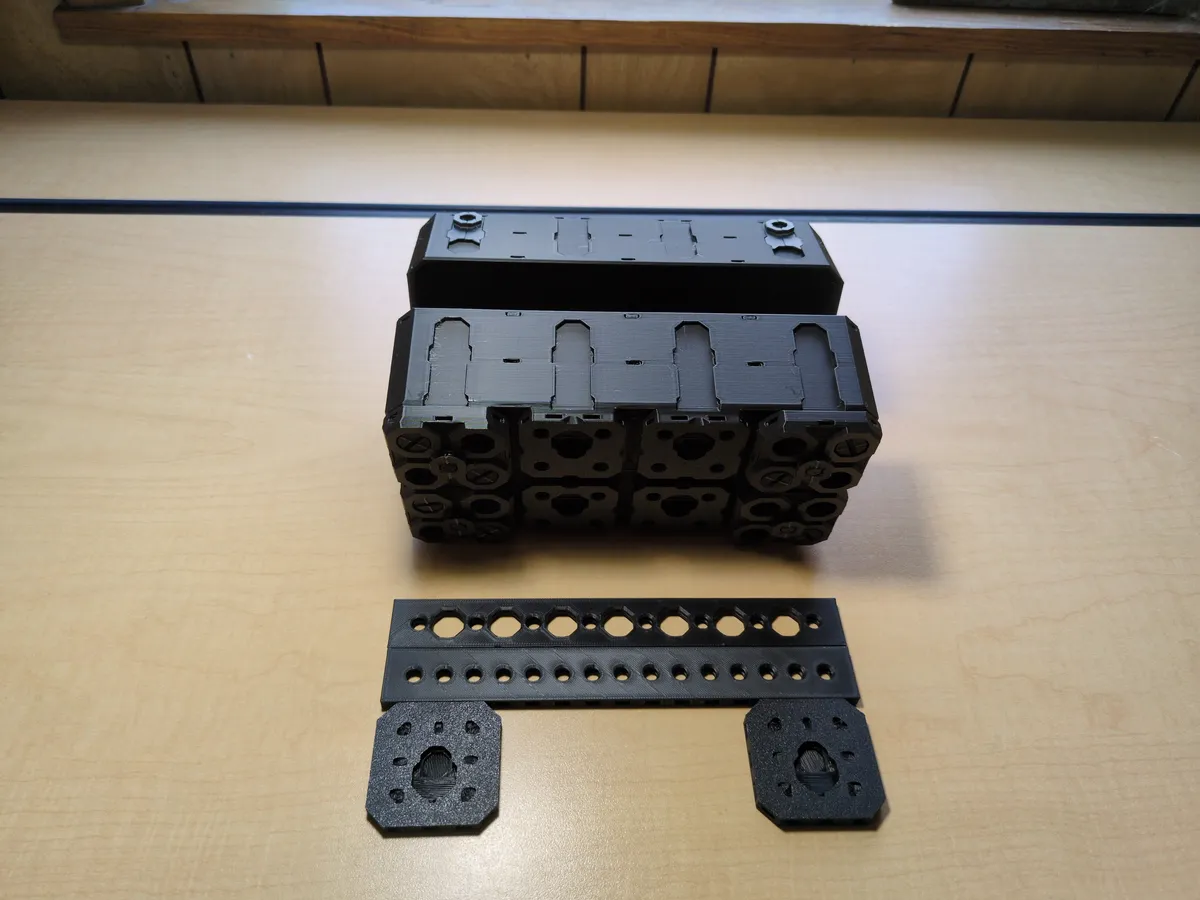
2x2 MU - Point Hole MU - MultiBoard Plate
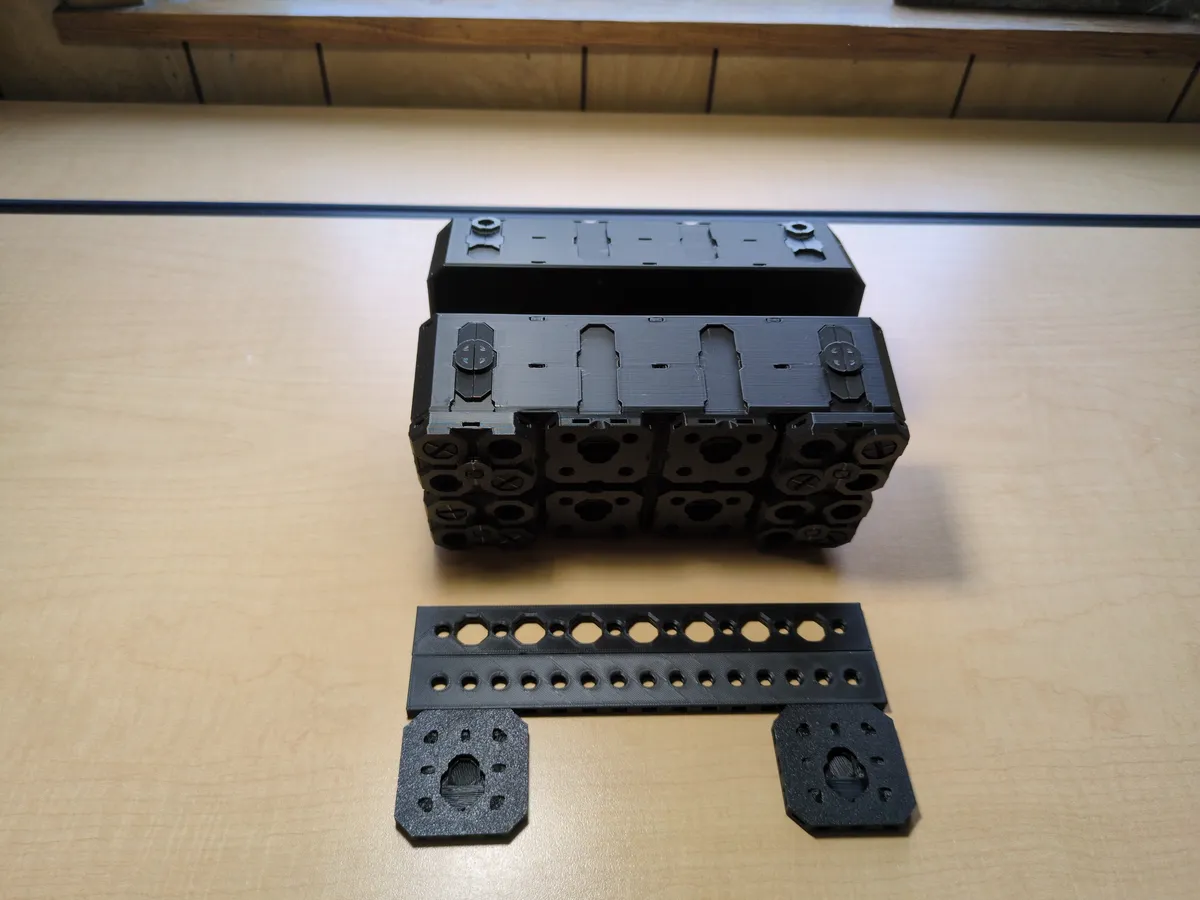
X Fix Point - 1 LU Bin Fit - OO Fold-In Locked Lite Rail (1 MU Rail)
This is the style of latch I mentioned in the previous post that works best when the hinge is in the exact middle of the seam of the bins, however it does work pretty well with L hinges or the offset 90 degree hinge as well.
This one does close pretty firmly and is self-aiming, so it's very easy to open and close(you might have to squeeze the bottom shell in just a little bit to open it), but it is not positive retention, so if you are mounting this one suspended from underneath a shelf (as I'll show later), if the contents are too heavy it could fall open. In general though it works extremely well and is a good choice for most purposes. You can make it full-length as well for more retention, and you can also easily add text to the top in your slicer to label contents.
 MP Bolt-Locked Insert - Twist-On Multipoint Mount
MP Bolt-Locked Insert - Slide-On Multipoint Mount
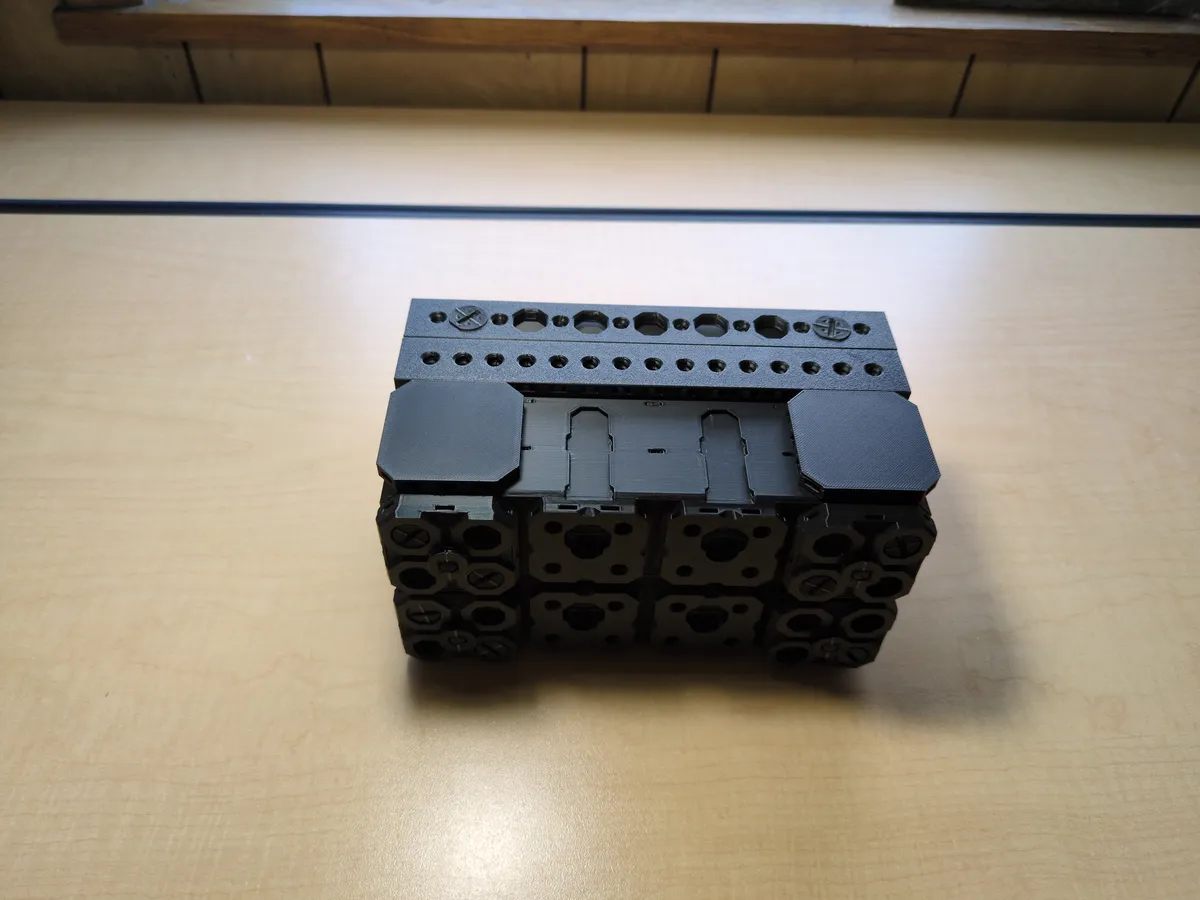
1x2 Octagon Plate, generated with the simple plate generator
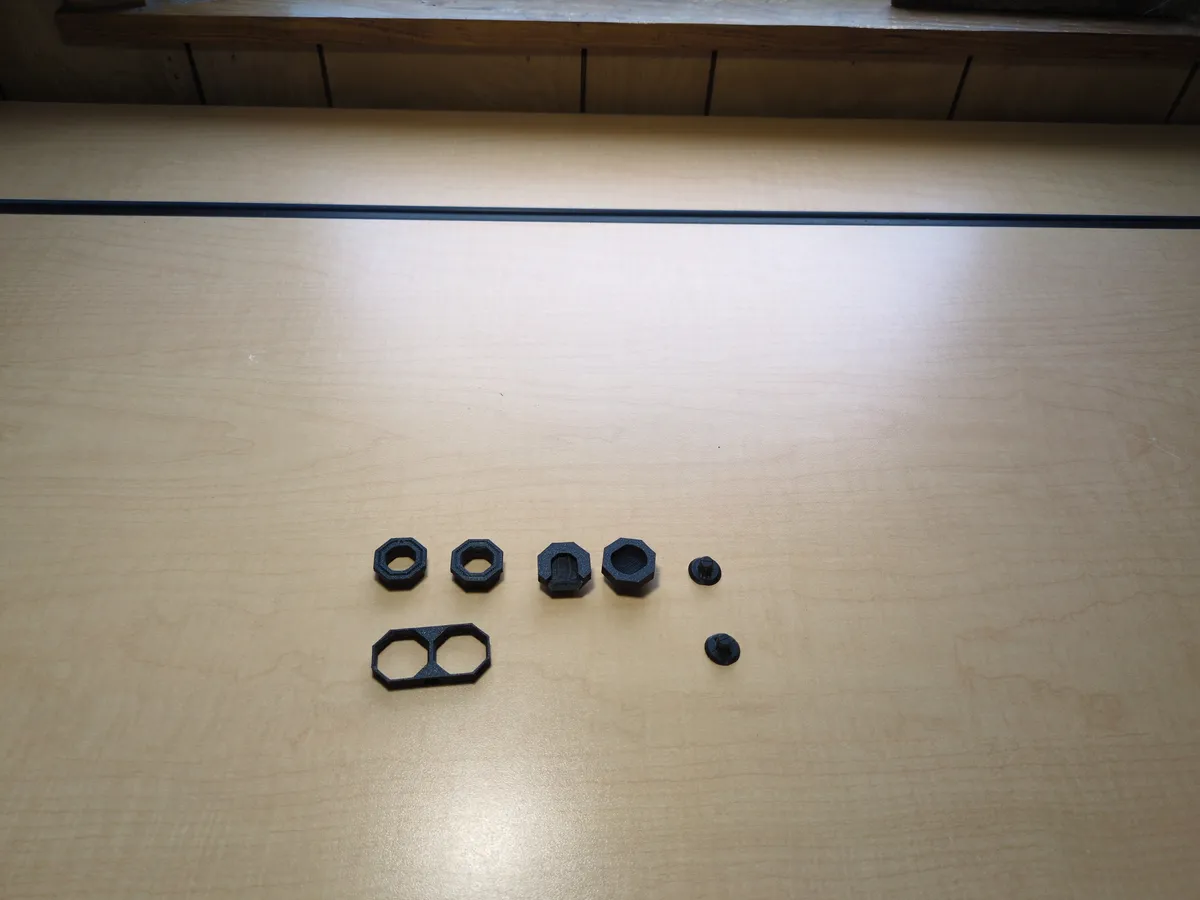
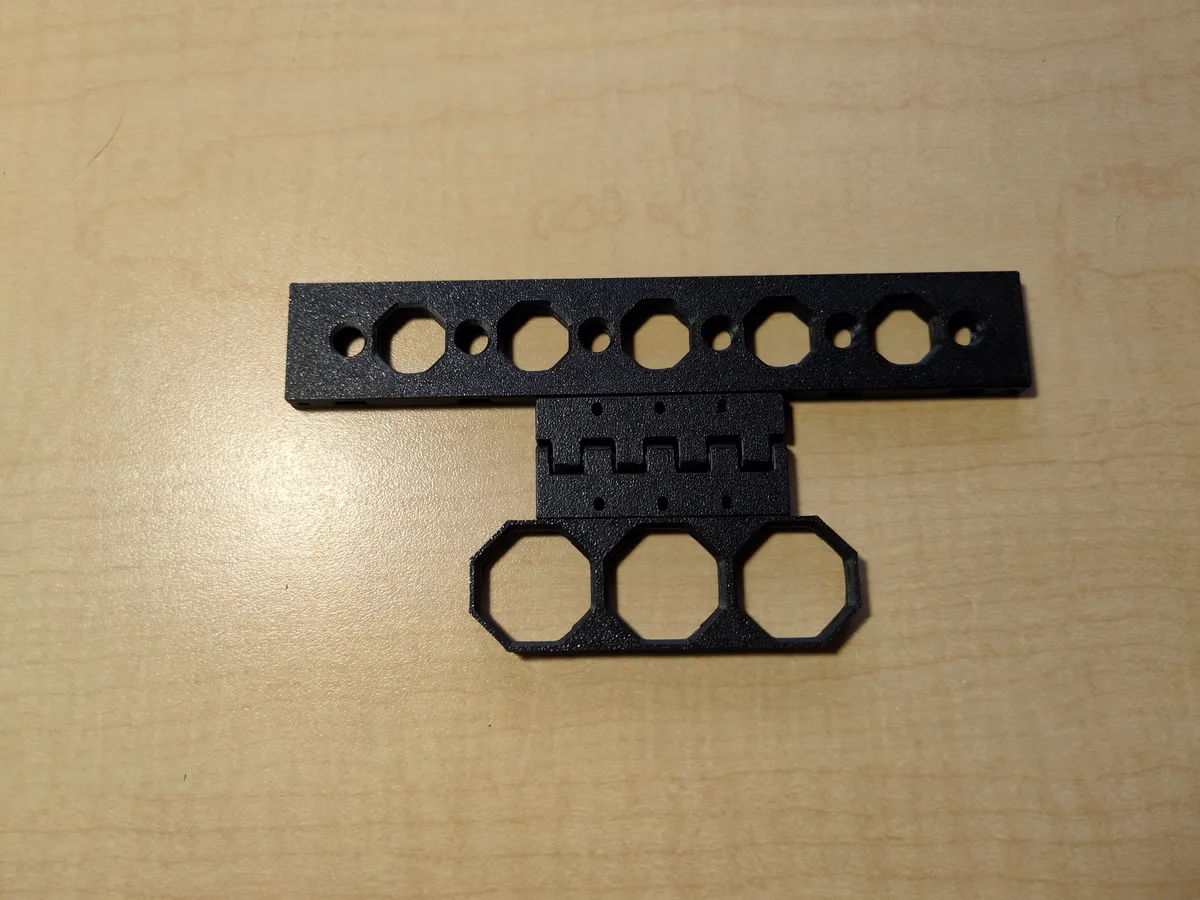
This is a toggle style clasp that uses some very obscure parts, ones that are actually not even listed in the current parts library, but I actually really like: Multipoint Mounts that bolt-lock into mid holes.
The assembly is pretty important: the Twist-On mount goes on the lid with the opening at a diagonal on the 1x2 plate, into a the underside of the Raised Snap, and then is bolt-locked with a normal Fix Point. This twists onto the top Fix Point Fold-In and rotates on it to open and close the clasp.
The Slide-On Mount goes with the opening facing sideways, towards the middle of the bin, and slides over the bottom Fix Point Fold-In to secure it. It's a bit difficult to describe, but once you have all the parts in your hand, it quickly becomes clear how it is meant to work.
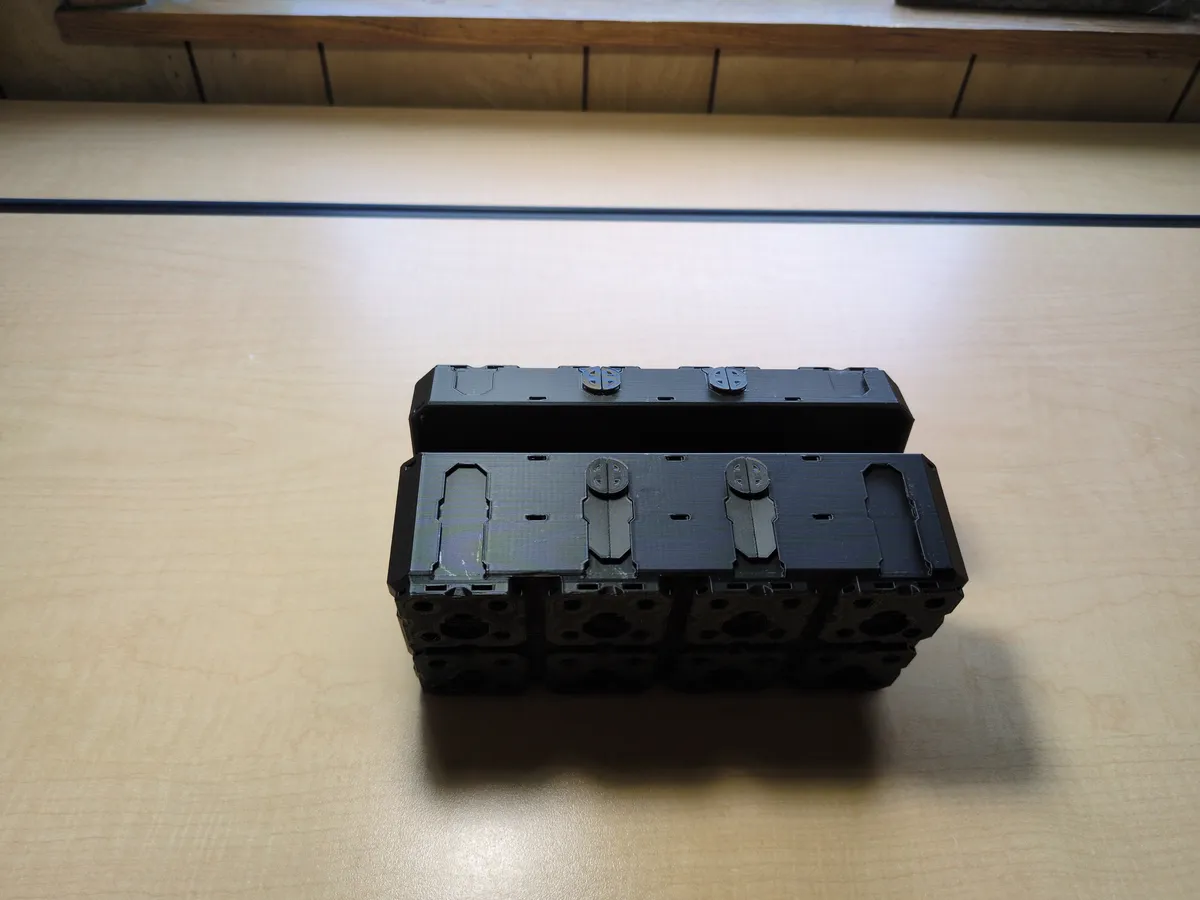 O Fix Point - 1 LU Bin Fit - OO Fold-In Locked Lite Rail (1 MU Rail)
Fix Point - 0.5 LU Bin Fit - OI Fold-In Locked Lite Rail (0.5 MU Rail)
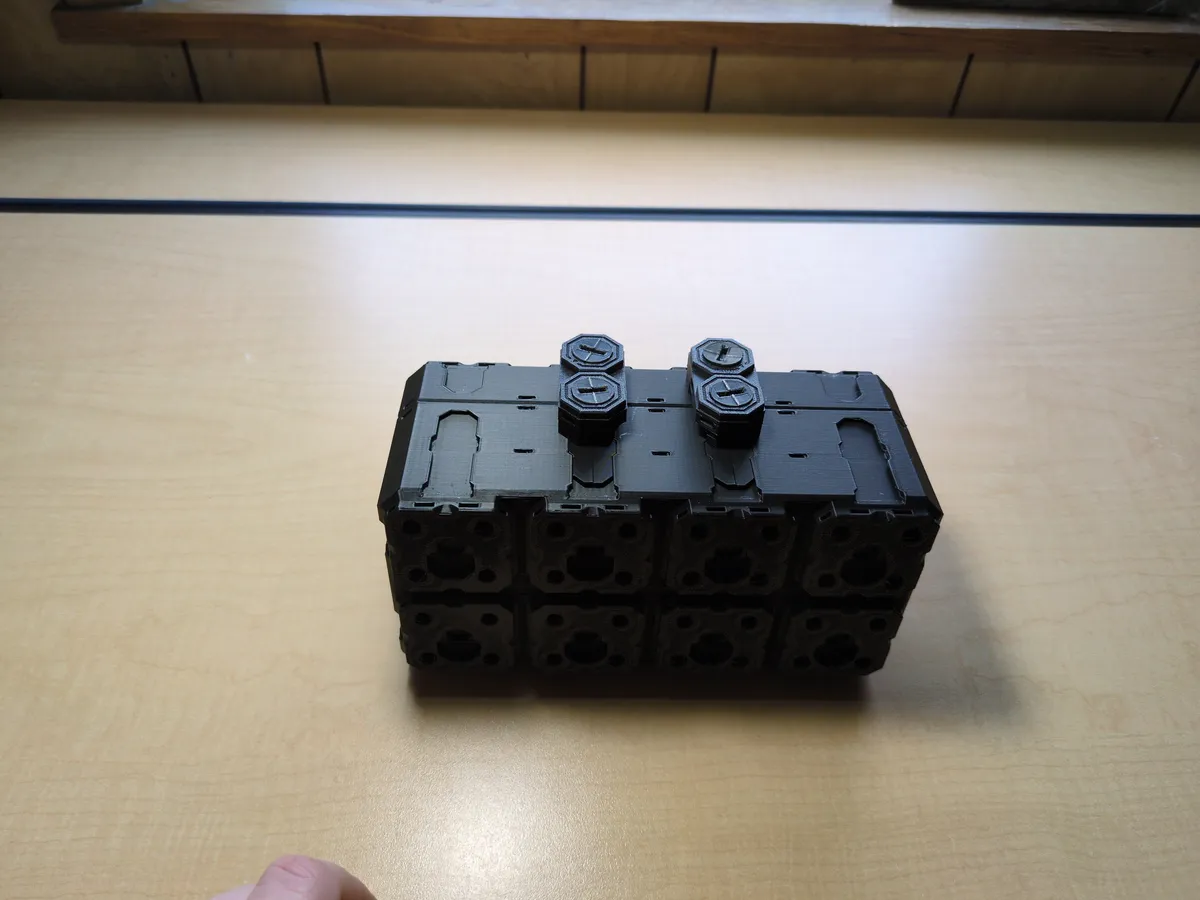
This one is a big bulky in the Y direction, but it is positive retention, and it is pretty neat looking and fun to use. These also don't have to be used with hinges, so you could stack multiple bins right-side-up on each other, securing them with multiple layers(or one very large one) of these, and make stackable Bento box style modules.
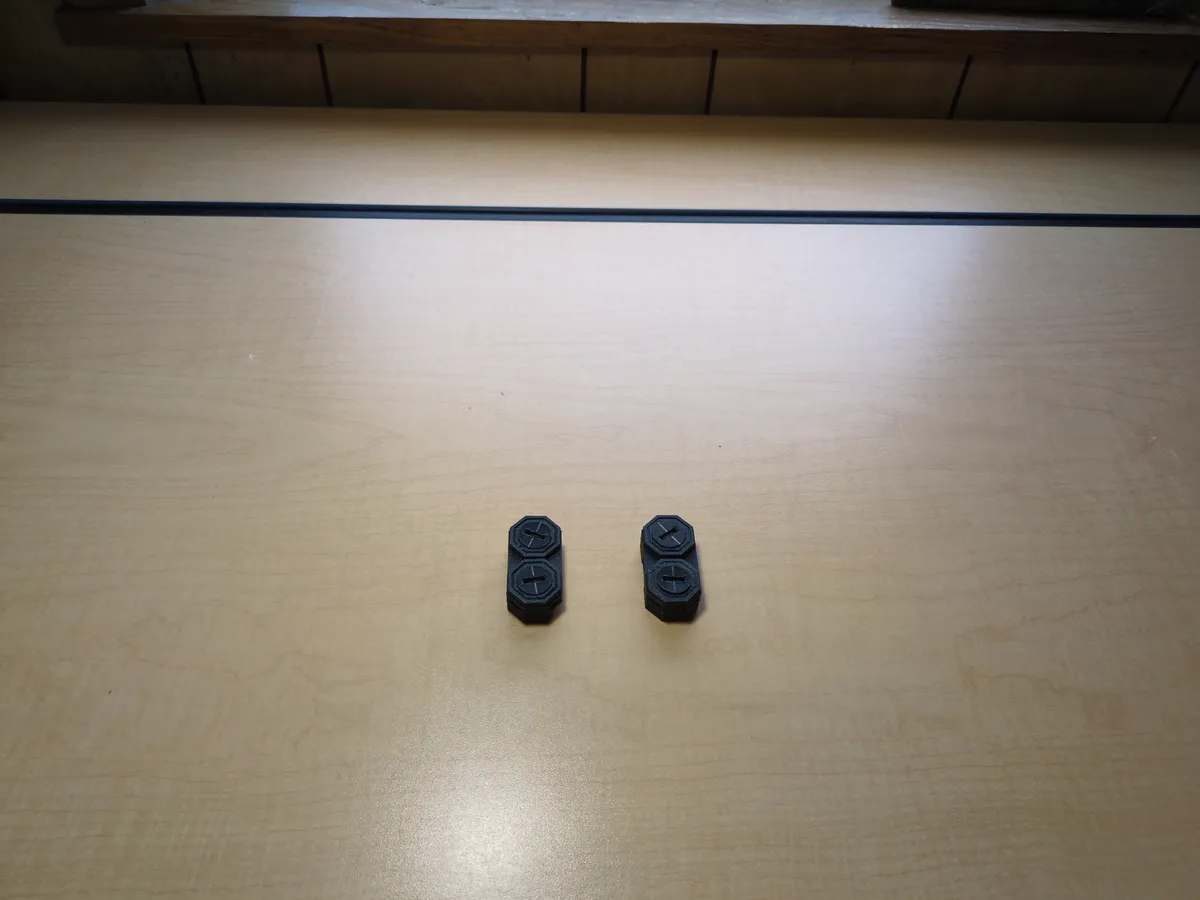
Next we've got on that's very simple and uses parts you're already familiar with:
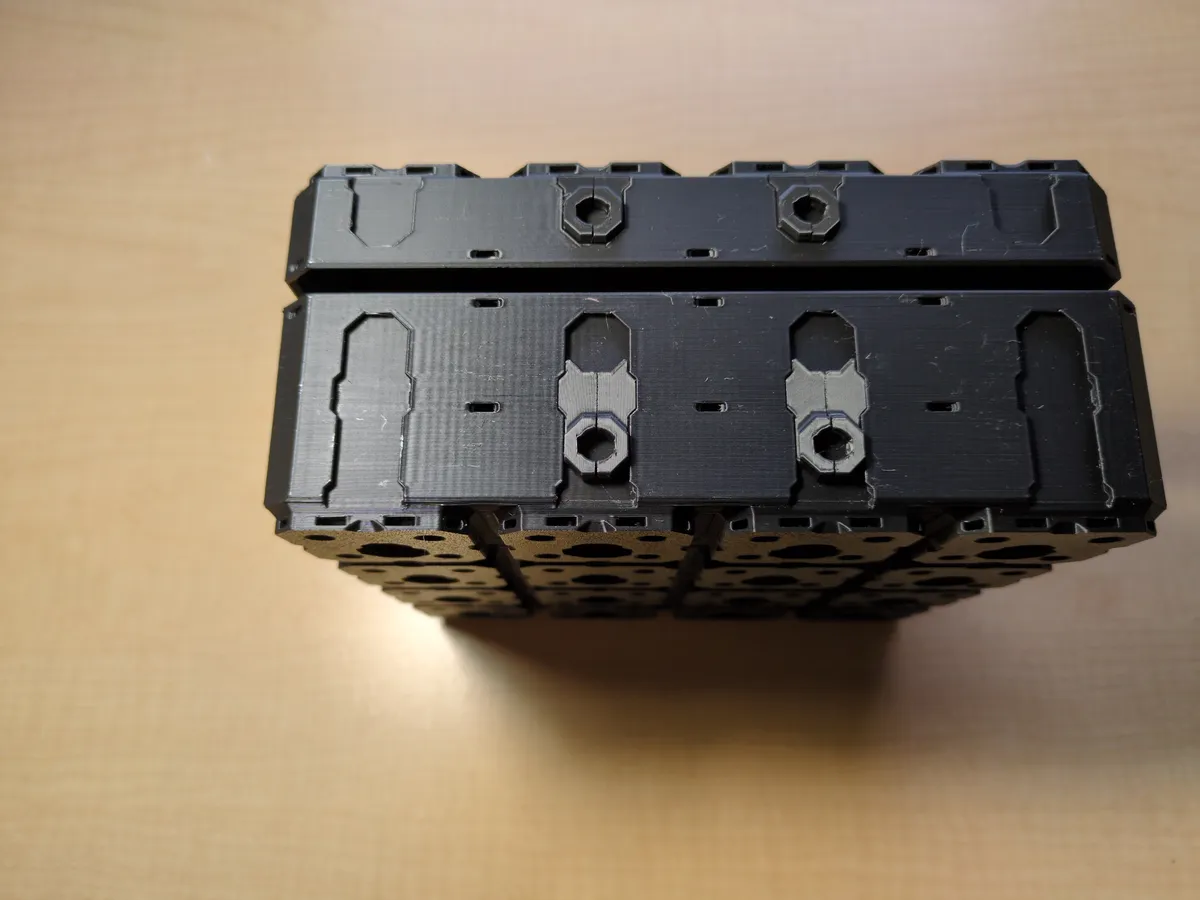
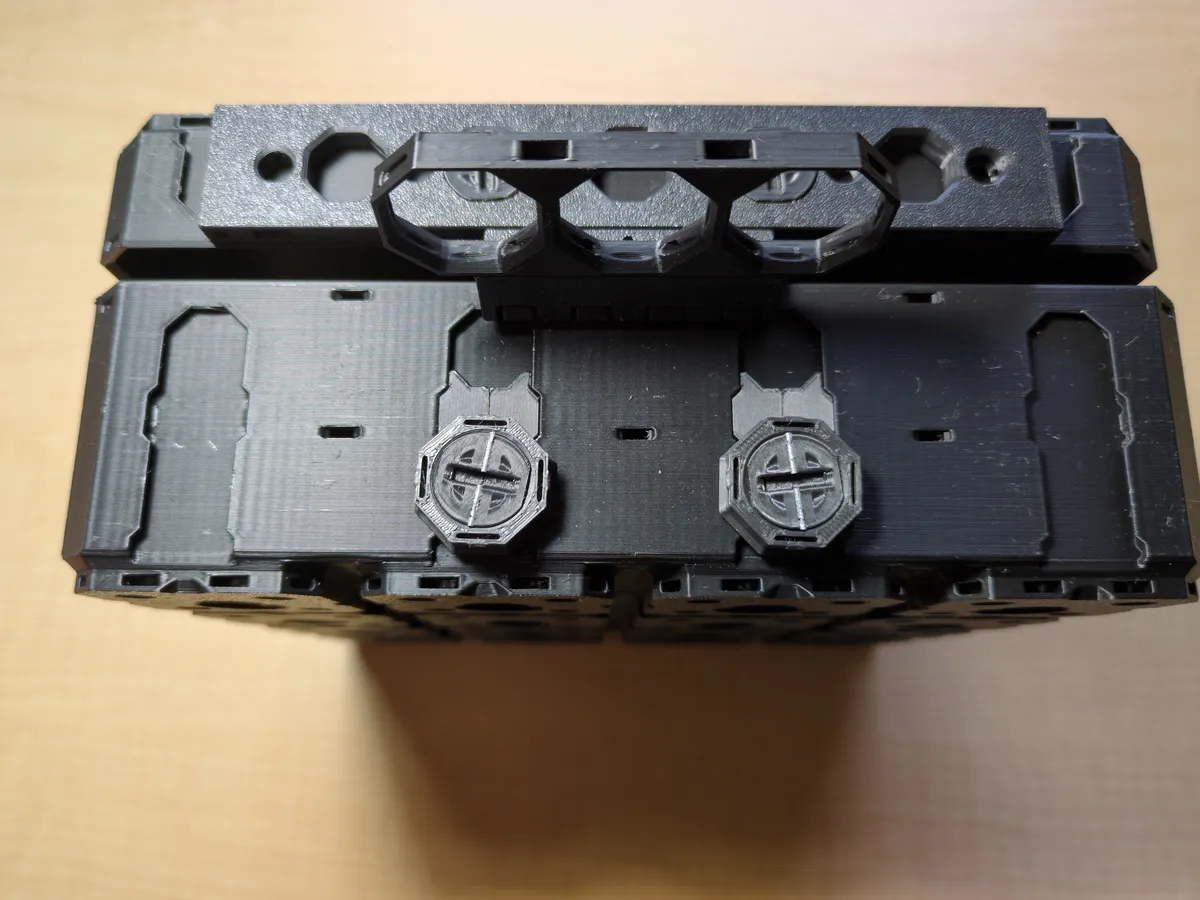
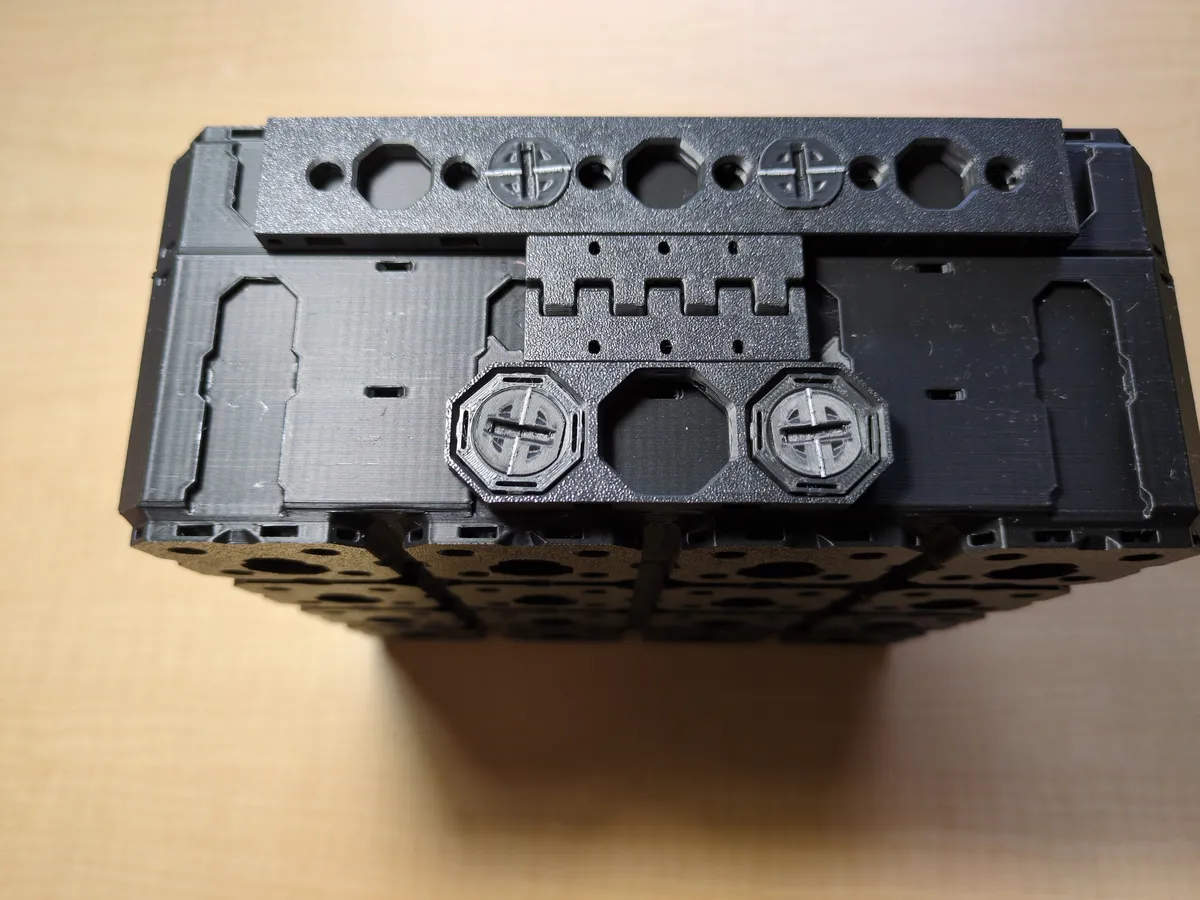
This one simply bolt-locks the snaps to the bottom shell inside-out, and uses the snapping action itself to latch. This is positive retention, is relatively streamlined, and can be customized for length. The only downside is it's fairly stiff, so it's not quite as quick to open or close, but that's the downside of being secure.
The last method is essentially a variant of the first method, just using magnets:
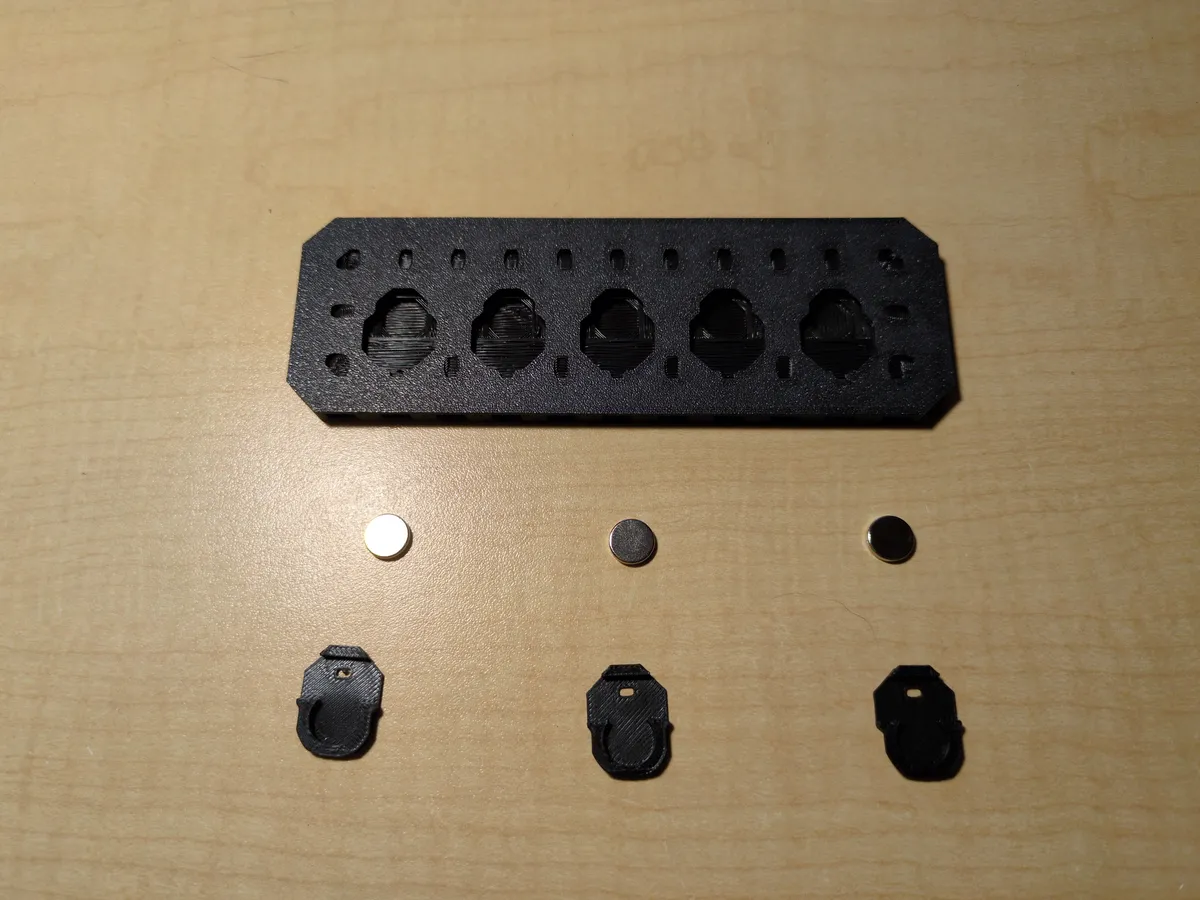
1 LU Bin Fit - OX - Magnet Sliding Lite Rail
Plain - 0.5 LU Bin Fit - OI Fold-In Locked Lite Rail (0.5 MU Rail)
I didn't take photos of the second part of this, which is just involving the magnets on the bottom bin of the clamshell, because honestly, I recommend just going with one of the other methods, they all work really well and the magnets work fine, but they're an added expensive that I think can be better used elsewhere in the system.
Hopefully you have enjoyed these posts, we're almost done with this particular series but I'll definitely have more MultiBuild content to share with you as time goes on. Thanks for reading!